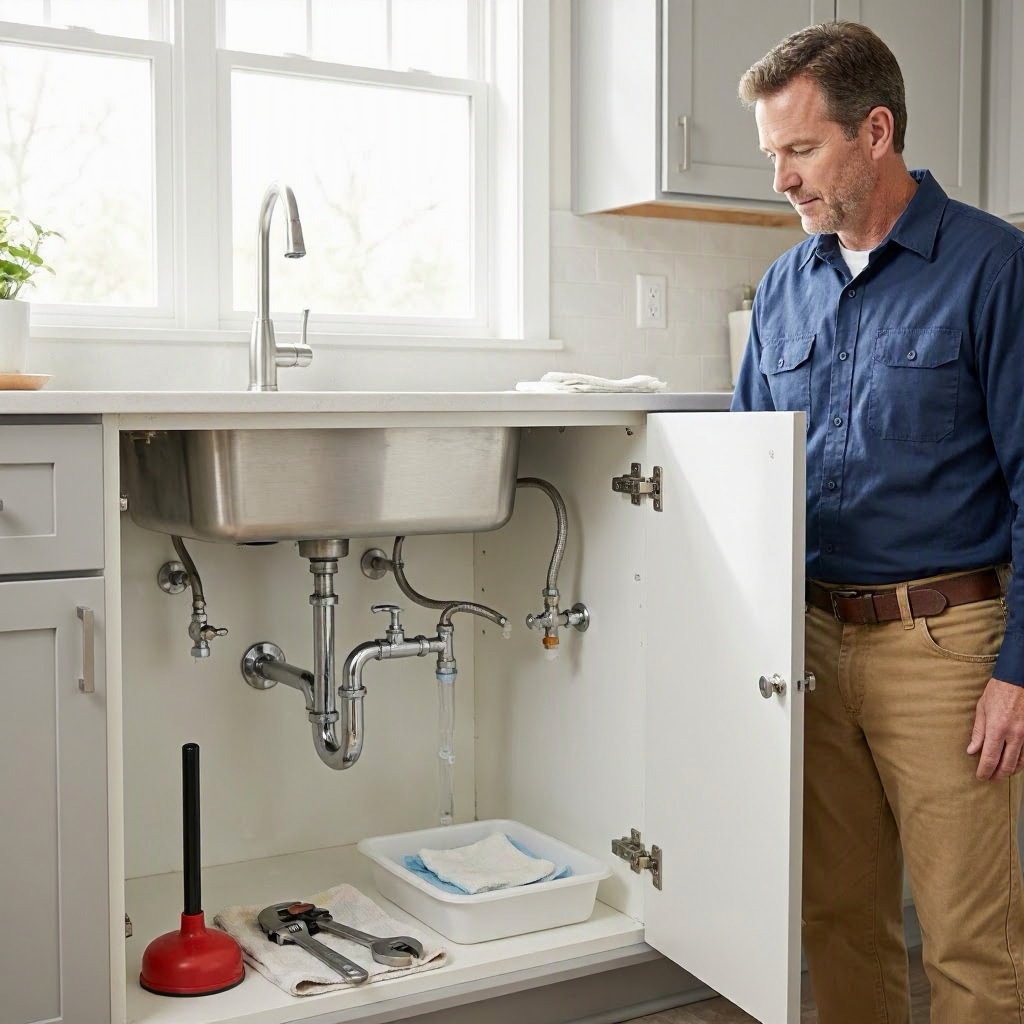
Water damage restoration cost after a burst pipe
Burst Pipes and Water Damage: The Basics
A burst pipe can turn a quiet home into a watery disaster overnight, flooding basements, kitchens, or entire floors. In the United States, freezing temperatures, aging infrastructure, or high water pressure often cause pipes to rupture, leading to thousands of gallons of water escaping before you notice. This sudden water intrusion creates hidden dangers like mold growth, structural weakening, and electrical hazards if not addressed quickly.
Water damage restoration refers to the professional process of extracting water, drying the space, cleaning contaminants, and repairing or replacing damaged materials. After a burst pipe, costs arise from both emergency mitigation and long-term repairs. Homeowners face tough decisions: act fast to limit damage, file insurance claims wisely, and budget for restoration without getting overcharged.
Understanding the scope helps you prioritize. A small leak under a sink might cost under $2,000 to fix, while a main line burst flooding 1,000 square feet could run $10,000 or more. Factors like damage extent, water category, and your location drive the final bill. This guide breaks down the process, cost influencers, and steps to control expenses.
First Steps After Discovering a Burst Pipe
Speed matters more than anything when a pipe bursts. Every hour of delay can double the restoration cost by allowing water to seep into walls, floors, and ceilings.
Turn off the water supply immediately. Locate your main shut-off valve, usually near the water meter or in the basement, and close it clockwise. If you're in an apartment or condo, notify maintenance right away, as shared plumbing might affect neighbors.
Next, remove standing water if safe. Use buckets, wet-dry vacuums, or towels for shallow puddles, but avoid electrical areas. Document everything with photos and videos from multiple angles, noting timestamps, affected rooms, and water levels. This evidence supports insurance claims and contractor estimates.
Contact professionals promptly. For major flooding, call a 24/7 water damage restoration service before attempting DIY drying. They use industrial pumps and dehumidifiers you can't match at home. If renting, alert your landlord or property manager per your lease terms, as they may cover repairs.
Avoid common mistakes like using household fans or heaters for drying, which can spread contaminants or cause further warping. Power off affected circuits at the breaker to prevent shocks.
The Water Damage Restoration Process Step by Step
Restoration follows a structured sequence to ensure safety and completeness. Certified technicians, often following IICRC (Institute of Inspection Cleaning and Restoration Certification) standards, assess and execute each phase.
Initial Assessment and Water Extraction
Prospects arrive with moisture meters, thermal imaging cameras, and hygrometers to map damage. They classify water as Category 1 (clean, like from a supply line), Category 2 (gray, contaminated), or Category 3 (black, sewage-tainted), which dictates urgency and methods.
Extraction uses truck-mounted or portable pumps to remove bulk water, often within hours. For carpeted areas, they pull up padding to prevent mold. This phase prevents further saturation but doesn't dry hidden moisture.
Drying and Dehumidification
Air movers (high-velocity fans) and industrial dehumidifiers run for days, sometimes weeks, targeting 40-50% humidity levels. Technicians monitor progress daily, adjusting equipment based on readings.
In hard-to-reach spots like crawlspaces or wall cavities, they drill small holes or use injectidry systems. Incomplete drying leads to callbacks, inflating costs by 20-50%.
Cleaning, Sanitizing, and Mold Prevention
Surfaces get antimicrobial treatments to kill bacteria and spores. Porous items like drywall, insulation, and wood may need removal if saturated beyond salvage. Non-porous items (tile, vinyl) get scrubbed.
If mold appears (fuzzy growth within 24-48 hours), EPA-recommended protocols apply, involving HEPA vacuums and containment. Severe cases require licensed mold remediation specialists.
Structural Repairs and Reconstruction
Final phase rebuilds: patching drywall, replacing subfloors, repainting, or reinstalling cabinets. Electricians or plumbers fix the burst pipe itself, often coordinating with restoration teams.
Permits may be needed for extensive work, like opening walls or altering plumbing, checked via your local building department.
Key Factors That Influence Restoration Costs
No two burst pipe incidents are identical, so costs vary widely by several drivers. Expect quotes to reflect an on-site inspection, as remote guesses lead to surprises.
Location plays a huge role: Urban areas like New York or San Francisco charge 20-50% more due to labor rates ($75-150/hour) and disposal fees. Rural spots might be cheaper but slower to respond.
Damage extent, measured in square footage, is primary. A 100 sq ft bathroom flood differs vastly from a 500 sq ft basement.
Water category matters. Clean water restoration focuses on drying; contaminated water adds sanitizing and disposal premiums.
Urgency spikes prices during nights, holidays, or peak seasons like winter freezes. Emergency service can add 25-100% surcharges.
Home specifics: Older homes (pre-1980) with plaster walls or asbestos risks complicate removal. Multi-story flooding involves access equipment.
Labor vs. materials: Labor dominates (50-70% of bill), with technicians working 8-12 hour shifts. Materials like antimicrobial agents, dehumidifier rentals ($200-500/day), and replacement drywall add up.
| Cost Factor | Description | Potential Impact |
|---|---|---|
| Affected Area Size | Square footage of wet space | Small (under 100 sq ft): lower end; Large (over 500 sq ft): doubles or triples costs |
| Water Category | Clean (1), Gray (2), Black (3) | Category 3 adds 50-100% for hazmat handling |
| Location | Urban vs. rural, regional labor rates | High-cost cities: +30-50%; Low-cost areas: baseline |
| Drying Time | Days vs. weeks needed | Extended drying: +20-40% equipment rental |
| Repairs Needed | Cosmetic vs. structural | Full rebuild: 2-3x extraction/drying only |
| Urgency | Emergency call-out | After-hours: +25-100% |
Contractor overhead, like travel and admin fees, varies; reputable firms itemize them.
Realistic Cost Ranges and What to Expect
Restoration after a burst pipe typically falls between $1,500 and $12,000, but averages hover around $3,500-$7,000 for moderate incidents. Minor jobs (single room, clean water) start at $1,000-$3,000. Severe cases, like whole-house flooding with Category 2/3 water, exceed $15,000-$50,000.
Breakdown example for a 200 sq ft kitchen flood:
- Extraction and setup: $500-$1,500
- Drying equipment (3-5 days): $1,000-$2,500
- Cleaning/sanitizing: $500-$1,500
- Repairs (drywall, flooring): $2,000-$5,000
These are national ballpark figures from industry reports; your local quote depends on inspection. Multipliers apply for hardwoods, antiques, or HVAC involvement.
Pipe repair itself (separate but related) adds $150-$350 for simple fixes, $500-$4,000 for main lines, per plumbing estimates.
Homeowners Insurance and Coverage Considerations
Most U.S. homeowners policies cover sudden burst pipe damage under "dwelling" coverage, minus your deductible (often $1,000-$5,000). It reimburses restoration if accidental, not from neglect like frozen pipes without heat.
File a claim quickly. Document damage, get restoration bids, and notify your insurer within 24-72 hours per policy terms. They may send an adjuster or recommend vendors.
Exclusions: Flood damage (needs separate NFIP policy), gradual leaks, or poor maintenance. Home warranties cover pipe repairs but cap water damage payouts ($1,500-$5,000 typical).
For renters, contents coverage via renters insurance applies; structure repairs fall to landlords.
Verify with your agent: Ask about actual cash value vs. replacement cost, and if mitigation costs count toward deductible.
When to DIY and When to Call Pros
DIY suits very minor incidents only. If under 10 sq ft of clean water on hard floors, rent a wet-dry vac ($30/day at Home Depot) and fans. Dry within 24 hours and monitor for mold.
Professionals are essential for most burst pipe damage. Risks include electrical hazards, mold inhalation, and incomplete drying leading to rot. Never DIY contaminated water, wall cavities, or structural areas.
Signs pro work is needed: Sagging ceilings, buckling floors, musty odors, or visible mold. IICRC-certified firms carry liability insurance, protecting you from secondary damage claims.
| Scenario | DIY Possible? | Pro Recommended? | Why |
|---|---|---|---|
| Small puddle on tile, no walls affected | Yes, with vac and fans | No | Quick, low risk |
| Carpet soaked, Category 1 water | Limited (extract only) | Yes | Hidden saturation |
| Walls wet, electrical nearby | No | Yes | Shock/mold risk |
| Basement flood, Category 2/3 | No | Yes | Health hazards, pumps needed |
Getting Quotes, Comparing, and Avoiding Overcharges
Gather 3-5 written estimates from licensed, insured locals. Search Angi, HomeAdvisor, or your state contractor board (e.g., CSLB in California).
Before approving:
- Confirm IICRC certification and license.
- Ask for itemized bid: labor hours, equipment days, materials, disposal.
- Inquire about warranties (1-5 years typical on drying, labor).
- Clarify payment: 30-50% deposit max, balance post-completion.
- Probe subcontractors, trip fees, change orders.
Red flags: Verbal quotes, full upfront payment, pressure to start without inspection, vague line items like "miscellaneous."
Sample questions:
- "What's the water category and moisture map?"
- "How long will drying take, and what's the monitoring plan?"
- "Are permits included if needed?"
- "What’s covered under your workmanship warranty?"
Negotiate by referencing competitor bids. For non-emergencies, wait 24 hours.
Keep records: Signed contracts, daily logs, before/after photos, invoices. Dispute via contractor board if issues arise.
Renters, Condo Owners, and HOA Considerations
Renters: Check your lease; landlords handle plumbing repairs and major restoration. Document and notify in writing within 24 hours. Your renters insurance covers belongings.
Condo/townhome owners: Shared pipes or walls mean HOA involvement. Review bylaws; common areas fall to association insurance.
Mobile homes: Unique setups like flexible lines require specialized pros; HUD standards may apply.
Always confirm responsibility before paying.
Prevention Strategies to Cut Future Risks
Annual maintenance saves thousands. Insulate exposed pipes in attics, basements, crawlspaces against freezes. Install water leak detectors ($20-100) with auto-shutoff.
Know pressure: Test at faucets (under 80 PSI ideal); install regulators if high.
Winter prep: Maintain 55°F minimum indoors, drip faucets during deep freezes.
Schedule plumbing inspections every 2-3 years, especially in homes over 20 years old.
Major Events and Additional Assistance
If your burst pipe stems from a declared disaster (e.g., widespread freeze), check FEMA Individual Assistance at fema.gov/assistance/individual. They offer grants for housing repairs not covered by insurance. Apply online or call 800-621-3362, providing damage proof.
For housing-specific aid, visit fema.gov/assistance/individual/housing.
Long-Term Monitoring After Restoration
Post-job, watch for musty smells, soft spots, or rising humidity. Test for mold if concerned (kits $10-50). Annual HVAC filter changes prevent recurrence.
Budget for surprises: 10-20% contingency in estimates covers hidden damage.
By acting fast, documenting thoroughly, and vetting pros, you control costs and restore safely. Local quotes give your precise number, start there.

About the TDL Expert Panel
TDL Expert Panel · TheDigitalLife Editorial Team
TDL Expert Panel is the editorial team behind TheDigitalLife. The team researches, reviews, and creates practical guides to help everyday readers make better decisions about home repair costs, refunds, AI tools, digital safety, productivity, and useful online resources. Each guide is written to be clear, useful, and easy to understand.