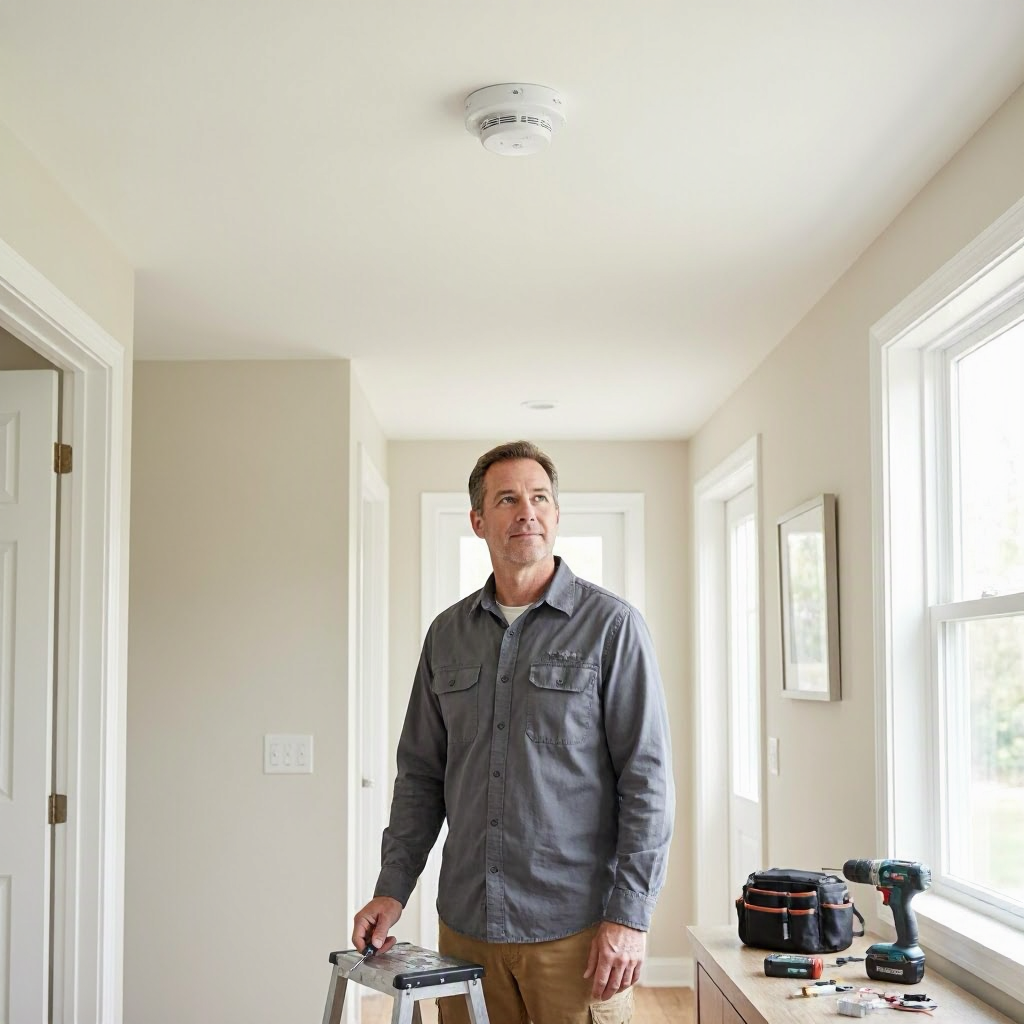
Smoke detector and carbon monoxide detector installation cost
Why Install Smoke and Carbon Monoxide Detectors?
Smoke detectors and carbon monoxide (CO) detectors save lives by alerting you to fires and the invisible, odorless gas from fuel-burning appliances. In the United States, the National Fire Protection Association (NFPA) reports that working smoke alarms cut the risk of dying in a home fire in half. CO detectors are equally vital, as CO poisoning sends about 50,000 people to emergency rooms yearly, per the Centers for Disease Control and Prevention (CDC).
Installation costs depend on whether you handle it yourself or hire a professional. DIY setups often run under $100 for a few units, while pro installs can climb higher due to labor and wiring. Factors like your home's age, detector type, and local codes play a big role. This guide breaks down what drives those costs, so you can plan without overpaying.
Homeowners typically install these for new builds, replacements, or after renovations. Renters should check leases first, as landlords often cover them. Understanding placement rules from the NFPA or local fire codes helps ensure compliance and effectiveness.
Types of Smoke and Carbon Monoxide Detectors
Choosing the right detectors affects both safety and upfront costs. Smoke detectors sense smoke from fires, while CO detectors target poisonous gas from furnaces, water heaters, stoves, or generators. Many combo units do both.
Smoke Detector Options
- Ionization: Best for flaming fires; common and affordable.
- Photoelectric: Better for smoldering fires like those from upholstery; slightly pricier.
- Dual-sensor: Combines both for comprehensive coverage.
Carbon Monoxide Detector Options
- Electrochemical sensor: Standard for accuracy.
- Combo smoke/CO: Popular for saving space and money.
Smart detectors connect to Wi-Fi or apps for remote alerts and battery monitoring. Brands like Nest or First Alert offer these, with features like voice alerts or self-testing. Battery-powered units are simplest for DIY, while hardwired models with battery backup suit pros for reliability during outages.
Interconnected systems link multiple units, so one alarm triggers all. Required in many new US homes per International Residential Code (IRC), they add wiring complexity and cost.
Factors That Affect Installation Costs
Costs vary widely by location, home setup, and choices. Urban areas like New York or San Francisco often see higher labor rates than rural spots. Older homes may need more work due to tricky wiring or plaster walls.
Home and Property Details
- Number of units needed: NFPA recommends one smoke detector per level, bedroom outside, and near kitchens (but not too close). CO detectors go near sleeping areas and fuel appliances. A 3-bedroom house might need 5-10 units.
- Home type: Single-family homes differ from apartments, condos, or mobile homes. Condos may require HOA approval for shared walls.
- Age and wiring: Pre-1980s homes often lack existing hardwired setups, raising retrofit costs.
Detector Choices
- Basic vs. advanced: Battery models cost less than hardwired or smart ones.
- Interconnected systems: Extra wiring bumps labor by 20-50%.
- Placement challenges: Vaulted ceilings, attics, or basements add time.
Labor and Service Factors
Labor dominates pro costs. Electricians charge based on hourly rates, travel, and job scope. Urgency matters: Emergency installs after a failure cost more than planned ones.
Local building codes influence needs. Some cities require permits for hardwired work or inspections post-install. Check your city's fire marshal or building department.
| Cost Factor | Why It Matters | Potential Impact |
|---|---|---|
| Detector type | Basic battery vs. hardwired/smart | Low-end: minimal; high-end: doubles materials |
| Number of units | Coverage per NFPA/IRC | 1-2 units low; 10+ high |
| Wiring needs | Existing vs. new runs | No wiring: DIY easy; full retrofit: pro only |
| Location | Urban labor rates higher | +20-50% in high-cost areas |
| Home access | Easy ceilings vs. hard-to-reach | Adds 30-60 minutes labor per spot |
Typical Cost Ranges for Materials and Labor
Exact prices fluctuate with supply chains, inflation, and retailers like Home Depot or Amazon. Always get current quotes from local stores.
Materials for battery-operated units start low: a single smoke detector might be $10-30, CO $20-50, combos $30-80. Packs for whole homes run $100-300. Smart models add $50-150 each for tech features.
Hardwired detectors cost more upfront ($20-60 each) due to interconnect modules. Wiring supplies like fish tape or junction boxes add $20-50.
DIY total: For 5-8 basic units, expect $75-250 just for parts, plus tools if needed.
Pro labor varies: $50-150/hour for licensed electricians. Simple battery swaps take 30-60 minutes ($50-150 total). Full hardwired installs for a home might run several hours, pushing $300-1,000+ including materials.
National averages from home service sites suggest $150-400 for basic pro installs, but add $100-300 per complex spot. These are ballpark figures—your quote depends on an on-site assessment.
Financing options like HUD's Title I loans or 203(k) rehab mortgages help for larger safety upgrades. Visit HUD home improvements or HUD 203(k) for details on eligible improvements.
DIY Installation: When It's Feasible and Safe
Many smoke and CO installs are DIY-friendly, especially battery models. No electrical skills needed for plug-ins or batteries, making it ideal for handy homeowners.
Is DIY Right for You?
- Yes if: Battery-operated, easy ceiling access, no wiring changes. Saves 50-80% vs. pro.
- No if: Hardwired required, electrical panel work, or code mandates pro certification. Older homes risk voiding insurance without proper install.
Renters: Get landlord okay in writing to avoid lease issues.
Step-by-Step DIY Guide
- Buy compliant units: Look for UL-listed (Underwriters Laboratories) with 10-year sealed batteries for less maintenance.
- Plan placement: Smoke: inside bedrooms, every level, 10 feet from kitchens. CO: near bedrooms, every level with fuel appliances. Avoid corners, vents, or humidity.
- Test old ones: Press test button; replace if over 10 years or chirping.
- Install:
- - Turn off power for hardwired (use voltage tester).
- - Mount bracket, connect wires if applicable (match colors: black hot, white neutral, red interconnect).
- - Secure unit, test immediately.
- Document: Photo before/after, note dates for records.
Tools needed: Ladder, screwdriver, stud finder ($20-50 total if buying). Follow manufacturer instructions—mishandling voids warranties.
Safety first: Wrong placement reduces effectiveness. If unsure, hire a pro to avoid false alarms or missed dangers.
Monthly testing and yearly battery swaps prevent failures. This maintenance cuts long-term costs.
When to Hire a Professional
Call an electrician for hardwired systems, interconnections, or if your home needs panel upgrades. Pros ensure code compliance, vital for insurance claims after fires or CO events.
Situations Needing Pros
- Retrofitting older homes without junction boxes.
- Multi-unit interconnects spanning floors.
- Smart detectors needing Wi-Fi setup or low-voltage wiring.
- Post-renovation or addition installs requiring permits.
Condo owners: Check HOA rules for common areas or exterior alarms.
Mobile homes: Special low-profile models may need pro venting checks.
Getting Quotes and Hiring a Qualified Installer
Shop multiple bids for non-urgent work. Aim for 3 written estimates.
Questions to Ask Contractors
- Are you licensed, bonded, and insured? (Check state board like California's CSLB.)
- What's included: diagnostic, labor, materials, trip fee, cleanup?
- Hardwired or battery? Interconnected?
- Warranty on work and parts? (Typically 1 year labor, manufacturer on units.)
- Permit needs? Who handles inspections?
- Payment terms? (Avoid full upfront; 50% deposit max.)
- Timeline and who does the work? (You or subs?)
Review estimates line-by-line: Separate labor ($75-125/hour average), materials markup (20-30% fair), fees.
Red flags: Verbal quotes only, pressure for full payment now, no license proof.
Compare via a checklist:
| Estimate Item | What to Verify |
|---|---|
| Labor hours | Realistic for your home size |
| Materials list | Brand, model, quantity |
| Total with taxes/fees | No hidden surprises |
| Warranty details | Labor and parts coverage |
| Code compliance | Permits if needed |
Use apps like Angi or HomeAdvisor for vetted pros, but verify reviews.
Permits, Inspections, and Code Compliance
Most battery installs skip permits. Hardwired or system-wide changes often need them in cities like Los Angeles or Chicago. Fees vary; contact your local building department.
Fire codes (NFPA 72) mandate:
- Smoke detectors every 10 years replacement.
- CO near bedrooms since 2010s IRC updates.
- Interconnects for new construction.
Inspections confirm proper install post-work. Non-compliance risks fines or insurance denial.
Renters, Homeowners, and Special Situations
Renters: Landlords must provide working detectors per most state laws (e.g., implied warranty of habitability). Notify in writing if faulty; they handle installs. Document with photos/videos.
Homeowners: Full responsibility. HOAs may dictate models or placement.
Insurance angle: Proper detectors may lower premiums; faulty ones complicate claims. Home warranties sometimes cover replacements, but check policy.
Maintenance to Prevent Future Costs
Regular upkeep extends life and avoids emergency replaces.
- Test monthly: Button press.
- Batteries: Swap yearly (alkaline) or use 10-year sealed.
- Clean quarterly: Vacuum dust.
- Replace every 10 years: Check manufacture date.
chirping? Low battery or end-of-life. Ignoring leads to $200+ pro visits.
Keep records: Receipts, test logs, photos. Helps for warranties or sales.
| Maintenance Task | Frequency | Why It Saves Money |
|---|---|---|
| Test alarms | Monthly | Catches failures early |
| Battery change | Yearly | Prevents nuisance chirps |
| Full replace | 10 years | Avoids total system failure |
| Dust cleaning | Quarterly | Maintains sensitivity |
Ways to Lower Your Installation Bill
- Bulk buy materials: Discounts at big-box stores.
- DIY prep: Clear access, label wires.
- Off-peak timing: Avoid holidays.
- Shop sales: Black Friday for detectors.
- Group with other work: Bundle with electrical inspections.
For low-income homeowners, check local fire departments for free or discounted units/programs.
Long-Term Value and Safety Payoff
Investing in quality detectors and proper install pays off in peace of mind. One prevented incident offsets costs many times over. Stay proactive: Map your home's needs, budget annually for maintenance, and update after changes like additions.
If facing high quotes, get a second opinion from another licensed pro. Prioritize safety over savings—your family's protection is priceless.

About the TDL Expert Panel
TDL Expert Panel · TheDigitalLife Editorial Team
TDL Expert Panel is the editorial team behind TheDigitalLife. The team researches, reviews, and creates practical guides to help everyday readers make better decisions about home repair costs, refunds, AI tools, digital safety, productivity, and useful online resources. Each guide is written to be clear, useful, and easy to understand.