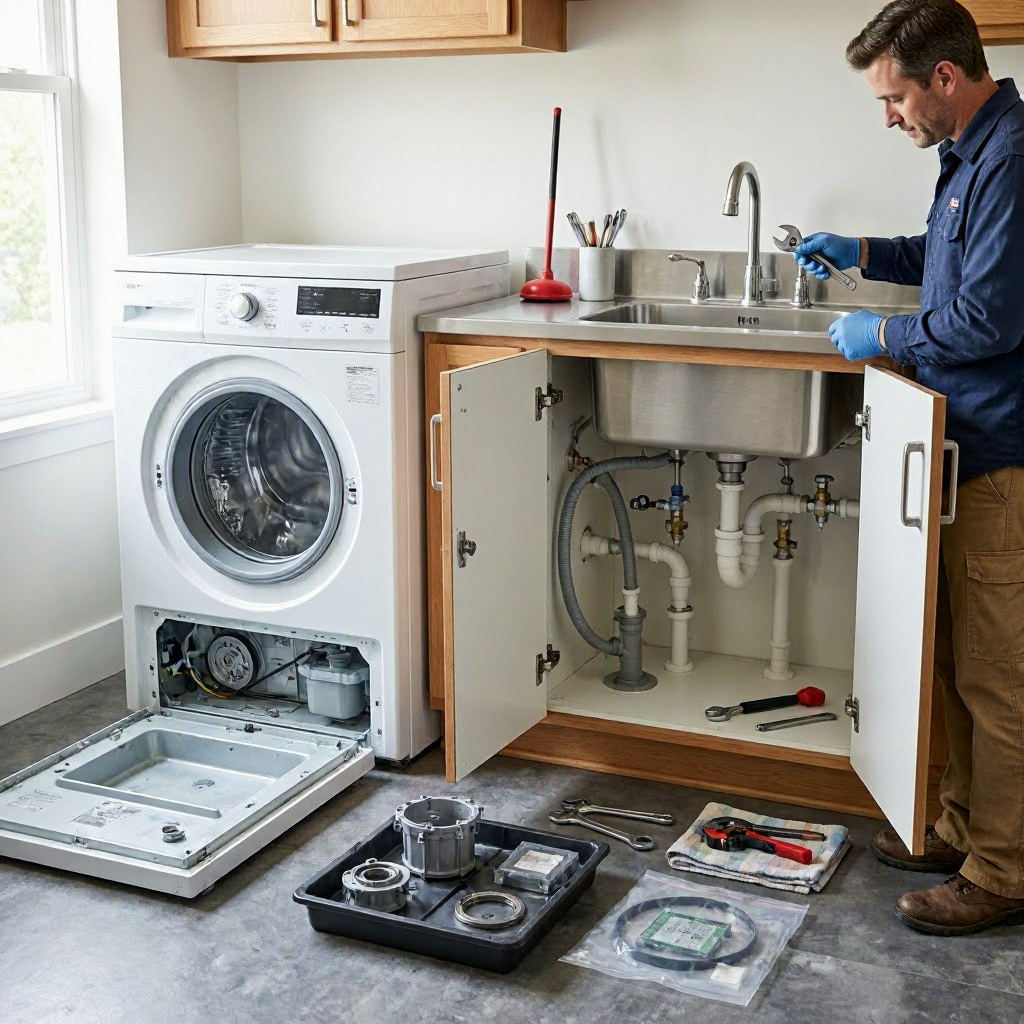
Washing machine repair cost: drain pump, belt, bearing, and control board
Washing Machine Repair Basics
Washing machines handle heavy loads and frequent use, making certain parts prone to wear. The drain pump, drive belt, bearings, and control board rank among the most common failure points in top-load and front-load models. When one fails, you might notice standing water, unusual noises, or error codes.
Repair costs vary widely based on your machine's age, brand (like Whirlpool, GE, or LG), location, and whether it's a basic or high-efficiency model. Factors such as local labor rates in urban areas like New York versus rural Midwest spots, parts availability, and diagnostic time all play a role. Expect to pay more for emergency service on weekends.
Before spending money, identify the issue. Run a diagnostic cycle if your model has one, or note symptoms like not draining, squealing, or failing to start. Document everything with photos and videos for quotes or warranty claims.
Homeowners often face these repairs directly, while renters should check their lease first, as landlords typically cover major appliance fixes. In condos or HOAs, shared laundry rules might apply.
Drain Pump Issues and Repair Costs
The drain pump removes water from the tub during rinse and spin cycles. It sits at the machine's base and can clog with lint, socks, or debris over time, or fail from motor burnout.
Common Symptoms
- Water remains in the drum after cycles.
- Gurgling or humming noises without draining.
- Error codes like "Ld" (long drain) on many models.
- Pump runs but water backs up into the standpipe.
These signs often appear after 5-10 years, especially in hard-water areas where mineral buildup accelerates wear.
Diagnosing the Problem
Unplug the machine and check the drain hose and filter for blockages, a common cheap fix. Access the pump via the front or bottom panel (model-specific). Spin the pump impeller by hand; if it doesn't turn freely, it's likely faulty.
Avoid running the machine with a bad pump to prevent flooding or motor strain.
Repair Process
Replacement involves draining residual water, removing hoses and wiring, and installing a new pump. Pros use compatible OEM or aftermarket parts matched to your model number (found on the back or door frame).
Labor takes 1-2 hours typically.
Cost Factors
Parts cost depends on top-load versus front-load designs; front-load pumps are often pricier due to higher pressure needs. Labor varies by access ease, with front-loaders requiring tub removal sometimes.
Diagnostic fees ($75-$125) may apply upfront, credited toward repair if you proceed. Trip charges add $50-$100 in spread-out areas.
Urgency bumps rates 20-50% for same-day service.
DIY vs. Professional
DIY suits handy homeowners with basic tools. Buy parts from sites like RepairClinic or PartSelect using your model number. Tutorials on YouTube abound, but ensure water valves are off to avoid floods.
Hire a pro if you're uncomfortable with plumbing or electrics, or if warranty coverage requires it. Licensed techs (check state boards like California's CSLB) carry insurance against water damage.
Drive Belt Problems and Repair Costs
The drive belt connects the motor to the transmission or tub, enabling agitation and spin. Rubber belts stretch, crack, or slip after 5-8 years of use.
Common Symptoms
- Machine agitates but won't spin, or vice versa.
- Burning rubber smell during operation.
- Squealing or slipping sounds.
- Overheating motor.
Overloading or belt misalignment from loose pulleys worsens this.
Diagnosing the Problem
Inspect visually after accessing the belt (bottom panel on most top-loaders). Check for cracks, glazing, or looseness. Test motor spin with the belt off.
Repair Process
Slip off the old belt, clean pulleys, and route the new one correctly. Tension adjustment is key to prevent repeats.
Simple job, under 1 hour for pros.
Cost Factors
Belts range widely by machine type; serpentine belts in modern front-loaders cost more than V-belts in older units. Labor is low since access is straightforward.
Add costs if pulleys need replacement too, doubling parts expense.
DIY vs. Professional
Highly DIY-friendly for those with mechanical aptitude. Parts are inexpensive and universal for many brands. Follow model-specific diagrams to avoid incorrect routing.
Call a pro if the motor or transmission shows issues during inspection, as belt failure often masks bigger problems.
Bearing Failures and Repair Costs
Bearings support the outer tub, allowing smooth spinning. They rust or seize from water leaks or detergent residue, common in front-loaders after 7-12 years.
Common Symptoms
- Grinding, rumbling, or thumping during spin.
- Tub wobbles excessively.
- Leaks from the rear seal area.
- Machine "walks" across the floor.
Early detection prevents tub cracks.
Diagnosing the Problem
Listen for noises ramping up in spin cycle. Check for play by rocking the tub (unplugged). Leaks confirm seal failure tied to bearings.
Repair Process
Major undertaking: disassemble the tub assembly, press out old bearings, install new ones with seals, and reassemble. Front-loaders demand tub removal, often 4-8 hours labor.
Requires special tools like bearing pullers.
Cost Factors
Parts kits (bearings, seals, grease) vary by drum size. Labor dominates due to complexity, especially in stacked units or tight spaces.
Full bearing jobs can approach new machine prices for older models, prompting replacement decisions.
DIY vs. Professional
Rarely DIY unless you're an experienced appliance tech. Risk of damaging the tub or misalignment is high, voiding warranties.
Professionals recommend this for safety and longevity. Insist on full seal replacement to avoid callbacks.
Control Board Repair or Replacement Costs
The electronic control board (CCB) is the machine's brain, managing cycles, sensors, and motors. It fails from power surges, moisture, or age (8-15 years).
Common Symptoms
- Blank display or beeping without response.
- Cycles start then stop randomly.
- Fills but won't agitate; error codes like "F28" or "tE."
- All functions erratic.
Diagnosing the Problem
Run diagnostics (hold specific buttons per manual). Check fuses, wiring harnesses for burns. Boards rarely repair; replacement is standard.
Repair Process
Locate board (top or back panel), disconnect power, swap, and reprogram if needed. Test all functions post-install.
30-90 minutes labor.
Cost Factors
Boards are model-specific and pricest part here, varying by brand complexity. Refurbished options cut costs 30-50%.
Surge protector absence raises repeat risk.
DIY vs. Professional
DIY possible for electronics-savvy users; static discharge precautions essential. Source from authorized sellers to match firmware.
Pro preferred for diagnosis accuracy, avoiding wrong-part buys. Techs test components first.
Overall Cost Comparison Table
| Component | Typical Parts Cost Range | Typical Labor Hours | Key Cost Drivers |
|---|---|---|---|
| Drain Pump | Low to mid | 1-2 | Clog vs. full failure, model type |
| Drive Belt | Low | 0.5-1 | Pulley condition, access |
| Bearings | Mid to high | 4-8 | Tub removal, front vs. top-load |
| Control Board | High | 0.5-1.5 | Brand, new vs. refurbished |
Note: Ranges reflect national variations; get local quotes. Totals exclude tax, disposal (~$25), or diagnostics.
Factors Influencing Total Repair Costs
Location matters: coastal cities charge more for parts shipping. Machine age affects part availability; vintage models double costs.
Labor rates ($75-$150/hour) depend on tech certification (NATE or manufacturer-trained). High-efficiency models use specialized parts.
Urgency, like mid-cycle flooding, adds premiums. Multiple issues (e.g., pump + belt) qualify for package discounts.
Home warranties cover these often, minus $75-$125 service fee. Check policy for appliance riders.
Getting Reliable Estimates
Contact 2-3 local techs via Angi, HomeAdvisor, or brand sites like Whirlpool's locator. Provide model number, symptoms, and photos.
Sample questions to ask:
- Is diagnostic fee waived if I approve repair?
- Are OEM parts used, or aftermarket? Warranty length?
- Total cost including tax, disposal, trip charge?
- Timeline and payment terms (no full upfront)?
- Licensed, insured, bonded? References?
Insist on written estimates detailing labor, parts, subtotal. Compare line-by-line; variances over 20% warrant questions.
Watch for upsells like unnecessary tune-ups or "while we're here" adds. FTC warns of home repair scams: pressure tactics or cash-only demands (see FTC home improvement scams).
DIY Checklist: Safe or Skip?
DIY shines for belts and pumps but falters on bearings/control boards.
Before starting: 1. Unplug and shut off water. 2. Gather tools: sockets, pliers, multimeter, towels. 3. Buy exact model parts; verify compatibility. 4. Watch 2-3 model-specific videos. 5. Test post-repair empty cycles.
Stop and call pro if:
- Electrical/water damage evident.
- Mold or rust suggests bigger issues.
- Machine under warranty.
- You're unsure—water damage claims average $5,000+.
Document attempts for insurance.
Renters, Homeowners, and Special Situations
Renters: Notify landlord/property manager immediately via certified mail or app portal. Leases often mandate owner responsibility for appliances. Withhold only if habitability violated (check HUD guidelines).
Homeowners: Your call, but review warranty first. Mobile homes may need access mods.
Condos/HOAs: Unit appliances usually owner-borne, but shared laundry follows association bylaws.
Insurance rarely covers wear/tear; file for sudden failures like surges.
Preventive Maintenance to Cut Future Costs
Regular care extends life beyond 10 years.
Monthly:
- Clean drain pump filter.
- Wipe door gasket (front-load).
- Run empty hot cycle with vinegar.
Quarterly:
- Inspect belts/belts for wear.
- Level machine to reduce bearing stress.
- Use HE detergent sparingly.
Install surge protectors ($20) for boards. Hard water? Add softener.
Maintenance table for quick checks:
| Task | Frequency | Why It Helps |
|---|---|---|
| Clean filter/hoses | Monthly | Prevents pump clogs |
| Check hoses for leaks | Quarterly | Avoids bearing water damage |
| Level machine | Yearly | Reduces belt/bearing wear |
| Surge protector | Install once | Protects control board |
When Repair Costs Signal Replacement
If total nears 50% of new machine price ($500-$1,200 for basics), replace. Bearings often tip the scale.
Shop sales at Home Depot/Lowe's; energy-efficient models save $50/year utilities.
Trade-in old unit for rebates. Energy Star ratings matter for rebates via Energy.gov.
Donate working machines to Habitat for Humanity.
Final Decision-Making Steps
Weigh symptoms, quotes, and machine age. Simple fixes like belts save money; bearings may not.
Keep records: invoices, serial numbers, service dates for resale or claims.
Your washer's quirks are normal—empower yourself with info to decide confidently. Local pros provide the final cost picture tailored to your setup.

About the TDL Expert Panel
TDL Expert Panel · TheDigitalLife Editorial Team
TDL Expert Panel is the editorial team behind TheDigitalLife. The team researches, reviews, and creates practical guides to help everyday readers make better decisions about home repair costs, refunds, AI tools, digital safety, productivity, and useful online resources. Each guide is written to be clear, useful, and easy to understand.