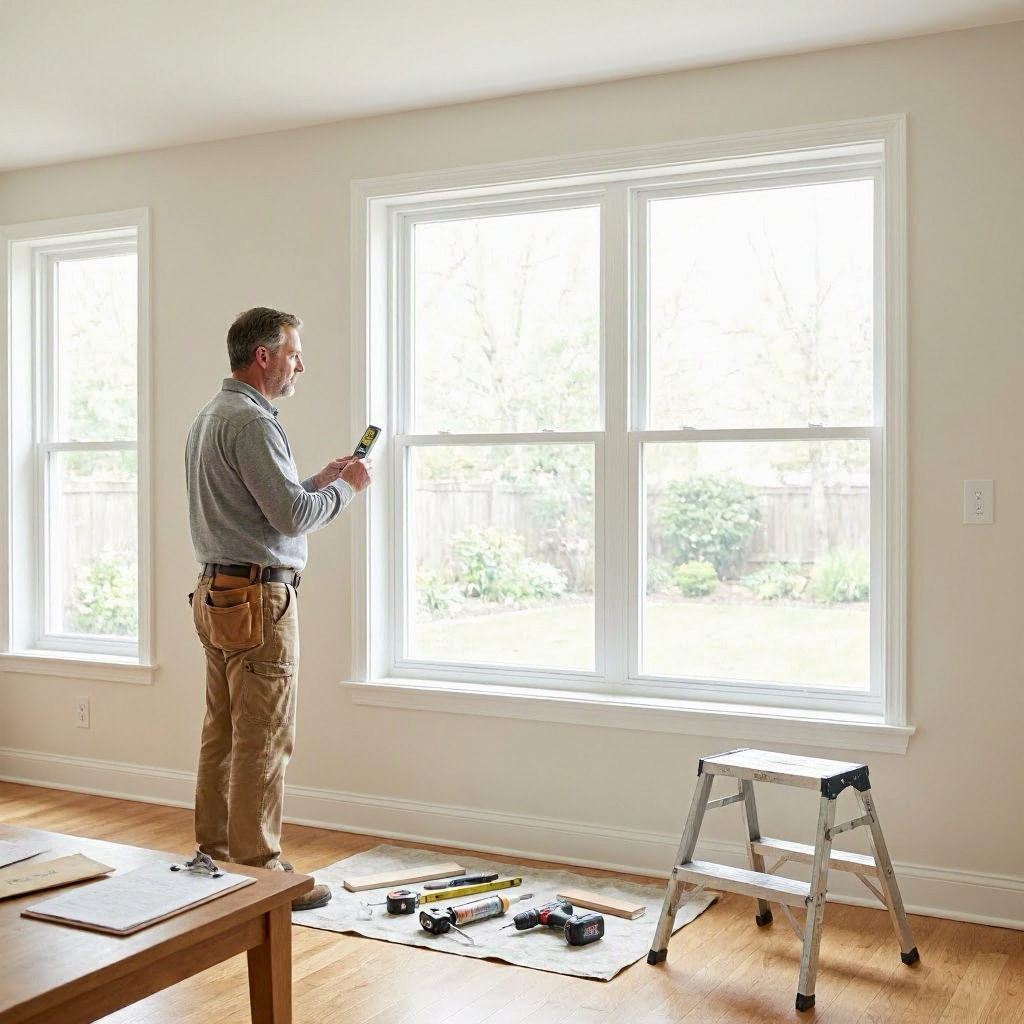
Energy-efficient window upgrade cost after rebates and tax credits
Why Upgrade to Energy-Efficient Windows?
Homeowners across the United States often notice drafts, high energy bills, and fading comfort from old windows. Upgrading to energy-efficient models can reduce heating and cooling costs by blocking heat loss in winter and unwanted heat gain in summer. These upgrades also qualify for federal tax credits and local rebates, lowering the effective cost significantly.
The net cost after incentives depends on your home's size, window count, location, and chosen products. For example, a typical three-bedroom home might replace 10 to 15 windows, with total project costs varying widely before savings. Understanding incentives first helps you budget accurately and maximize returns.
Federal programs like the Energy Efficient Home Improvement Credit under the Inflation Reduction Act make these upgrades more affordable. Always check eligibility on official sites such as the IRS energy credit page and the DOE home upgrades page.
Typical Window Replacement Costs Before Incentives
Window upgrade costs start with materials and labor. Energy-efficient windows use advanced features like low-emissivity (low-E) coatings, argon gas fills, and multi-pane glass, raising upfront prices compared to basic single-pane units.
Material costs per window range from $300 to $1,200, depending on size, frame type (vinyl, wood, fiberglass, or aluminum-clad), and performance ratings like U-factor (heat loss measure) and Solar Heat Gain Coefficient (SHGC, heat gain measure). Larger picture windows or custom shapes cost more.
Labor for professional installation adds $100 to $400 per window, influenced by home access, siding removal, and disposal of old units. A full-house project for 10 windows might total $8,000 to $20,000 before any savings, but this varies by region, higher in coastal cities like San Francisco or Miami due to demand and regulations.
These figures exclude incentives. Actual quotes require an in-home assessment, as costs depend on your home's age, window locations, and existing frames.
Federal Tax Credits: The Energy Efficient Home Improvement Credit
The primary federal incentive is the non-refundable Energy Efficient Home Improvement Credit (Section 25C), expanded by the Inflation Reduction Act through 2032. It covers 30% of qualified costs for energy-efficient windows, doors, skylights, and insulation, with annual limits.
For windows, the cap is $600 per tax year. Qualified products must meet ENERGY STAR Most Efficient standards or Consortium for Energy Efficiency (CEE) tier requirements, verified by the manufacturer. Installation costs qualify if done by a professional.
To claim it, file IRS Form 5695 with your federal tax return. Keep receipts, manufacturer certifications, and ENERGY STAR labels. The credit phases down after 2032, so acting soon maximizes benefits.
Homeowners in older homes (pre-2006 construction) often see the biggest payback, as inefficient single-pane windows leak up to 30% more energy. Consult a tax professional or the IRS site for your situation, as credits don't apply to rentals unless you're the owner.
State, Local, and Utility Rebates
Beyond federal credits, many states and utilities offer rebates stacking with the tax credit. Programs vary, so check your state's energy office or utility provider.
For instance, California's TECH Clean California or New York's EmPower+ provide rebates per window based on efficiency. Rebates range from $50 to $300 per window, often requiring pre-approval and post-installation verification.
Utilities like those in the Pacific Northwest (e.g., Puget Sound Energy) or Midwest (e.g., Xcel Energy) offer $200 to $800 per project for high-performance windows. Search your utility's site for "energy efficiency rebates" and submit invoices after work.
Local governments in places like Colorado or Massachusetts may add incentives through property tax exemptions for green upgrades. These can reduce net costs by another 10-20%, but confirm eligibility, some exclude new construction.
How to Calculate Your Net Cost After Rebates and Credits
Estimate your savings with these steps:
- Get 3 written quotes from local installers, specifying ENERGY STAR-rated windows and total costs including labor.
- Identify qualifying costs: Subtract non-eligible items like standard framing if not efficiency-related.
- Apply the 30% federal credit (up to $600 cap for windows).
- Add utility rebates (direct payments or checks).
- Subtract state/local incentives.
Example scenario: A $12,000 project for 12 windows.
- Federal credit: 30% of $12,000 = $3,600, capped at $600.
- Utility rebate: $1,200.
- Net cost: $12,000 - $600 - $1,200 = $10,200.
Use online calculators from ENERGY STAR or your utility, but verify with receipts. Track all documents for audits.
Key Factors Affecting Upgrade Costs
Costs fluctuate based on several variables. Here's a breakdown:
| Cost Factor | Why It Matters | Potential Impact |
|---|---|---|
| Number and size of windows | More or larger units increase materials and labor | +20-50% for 15+ windows |
| Window type and features | Double-pane with low-E vs triple-pane; fiberglass frames last longer | $200-600 extra per premium unit |
| Home location | Urban areas have higher labor; hurricane zones need impact glass | +15-30% in high-cost states |
| Existing conditions | Rotten sills or brick exteriors require repairs | +$500-2,000 per issue |
| Installation complexity | Multi-story access or historic homes need cranes/specialists | +$100-300 per window |
Accessibility, like second-floor windows without easy ladders, drives up prices. Seasonal demand peaks in fall, raising rates 10-20%.
Selecting Energy-Efficient Windows
Choose based on climate:
- Northern states (e.g., Minnesota): Low U-factor (≤0.27) for insulation.
- Southern states (e.g., Florida): Low SHGC (≤0.25) to block solar heat.
ENERGY STAR labels ensure qualification. Vinyl frames offer good value; wood provides aesthetics but needs maintenance. Fiberglass resists warping in humid areas.
Test NFRC ratings on manufacturer sites. Avoid cheapest options, poor seals lead to callbacks.
DIY vs. Professional Installation
DIY is rarely recommended for full window upgrades. Removing old windows risks glass breakage, frame damage, and voiding warranties. ENERGY STAR credits require proper installation to meet air leakage standards (≤0.3 cfm/ft²).
For minor jobs like inserting inserts into existing frames, DIY kits cost $100-300 per window but save less energy. Professionals ensure flashing, sealing, and code compliance.
Hire certified installers, AAMA or WDMA members, for warranties. DIY suits handy homeowners with single-story access and basic tools, but errors cost more to fix.
Steps to Get Reliable Estimates
- Research 3-5 local contractors via Angi, HomeAdvisor, or BBB.
- Provide home details: Window count, sizes, photos, and efficiency goals.
- Request itemized written estimates valid 30 days, including:
- - Materials (brand, model, ratings).
- - Labor hours.
- - Permits, disposal, cleanup.
- Compare apples-to-apples: Same window specs.
Non-itemized quotes hide upsells. Visit showrooms to see samples.
Essential Questions for Window Contractors
Before signing:
- Are windows ENERGY STAR Most Efficient certified? Show labels.
- Does the price include permits, disposal, and 10-year warranties?
- Licensed, bonded, insured? Verify state license (e.g., CSLB in CA).
- Timeline and payment terms, no full upfront for jobs over $1,000.
- Subcontractors involved? Who handles efficiency verification?
- Energy savings estimate based on my utility bills?
Document answers in email. Walk away from pressure for "today's deal only."
Permits, Inspections, and Codes
Many areas require building permits for window replacements altering egress (e.g., bedrooms) or energy codes. Check your local building department, fees run $50-300.
Historic districts or HOAs may restrict styles. Post-install inspections verify sealing. Skipping permits risks fines or insurance denial.
Renters: Contact landlord first; upgrades may be their responsibility.
Homeowners Insurance and Warranties
Insurance typically covers sudden window damage (e.g., storm), not elective upgrades. Post-upgrade, better efficiency may lower premiums, ask your agent.
Manufacturer warranties cover glass (20 years), seals (10-20 years). Labor warranties (5-10 years) from installers. Register products promptly.
Home warranties (e.g., Choice Home Warranty) rarely cover windows unless specified.
Long-Term Savings and ROI
Efficient windows pay back in 5-10 years via 10-25% utility savings. A $15,000 project with $2,000 incentives nets payback faster.
Annual maintenance: Clean tracks, inspect seals. Caulk gaps yearly.
Track bills pre/post-upgrade. Tools like RESNET calculators estimate savings.
Common Pitfalls to Avoid
Watch for:
- Low-ball quotes using subpar windows ineligible for credits.
- Unnecessary add-ons like tinting if not needed.
- Ignoring disposal fees ($50-100 per load).
- Forgetting to apply incentives timely (file taxes by April).
Get everything in writing. If issues arise, contact state contractor boards.
Hypothetical Cost Scenarios After Incentives
Small project (5 windows, vinyl double-pane): $4,500 gross
- $300 federal
- $500 rebate = $3,700 net.
Medium (10 windows, fiberglass): $11,000
- $600
- $1,000 = $9,400.
Large (20 windows, custom): $25,000
- $600
- $2,500 = $21,900.
Adjust for your zip code using local quotes.
Maintenance Tips to Maximize Incentives
Proper care preserves efficiency:
- Vacuum tracks quarterly.
- Replace weatherstripping every 5 years.
- Avoid harsh cleaners on coatings.
This extends warranties and savings, justifying the upgrade.
In summary, energy-efficient window upgrades cost less after rebates and credits, often halving effective prices for qualifying projects. Start with official sites, gather quotes, and verify incentives to secure the best deal for your home.

About the TDL Expert Panel
TDL Expert Panel · TheDigitalLife Editorial Team
TDL Expert Panel is the editorial team behind TheDigitalLife. The team researches, reviews, and creates practical guides to help everyday readers make better decisions about home repair costs, refunds, AI tools, digital safety, productivity, and useful online resources. Each guide is written to be clear, useful, and easy to understand.