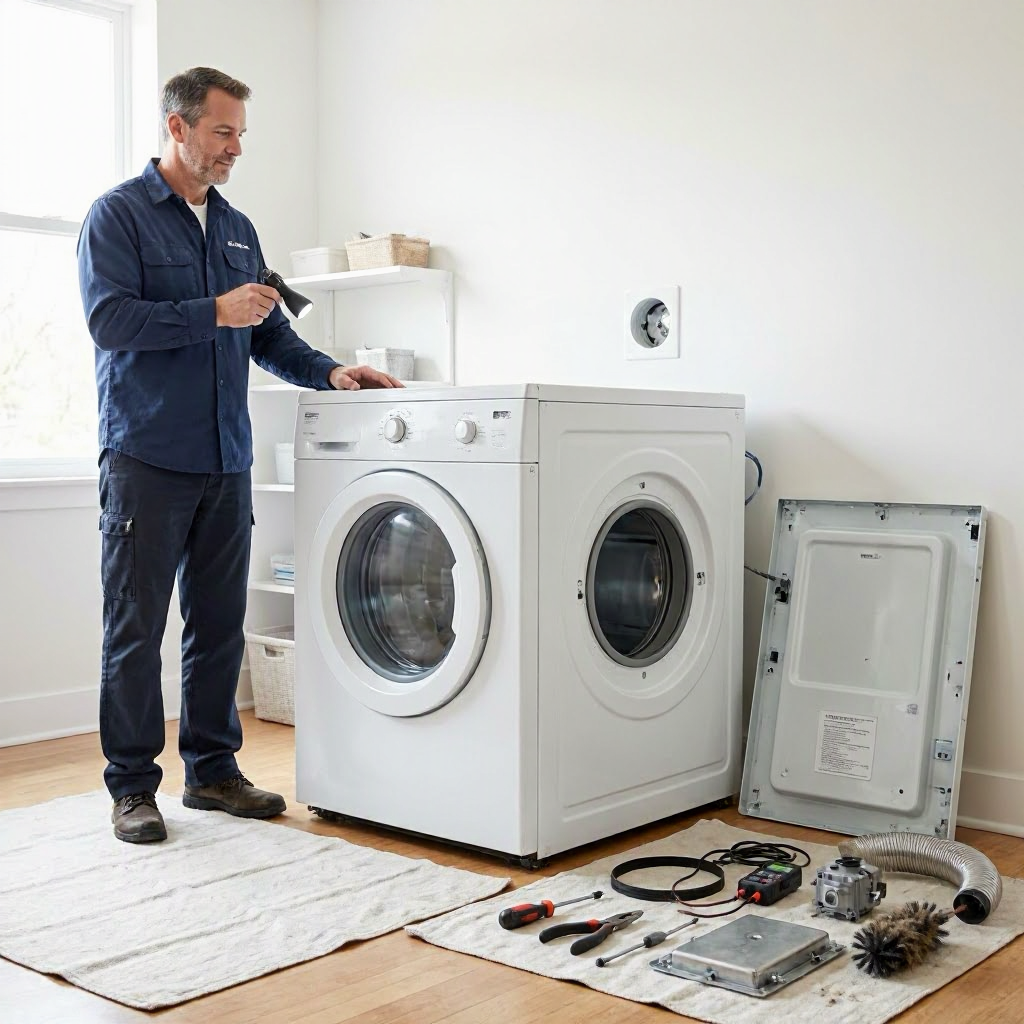
Dryer repair cost: heating element, belt, motor, and vent blockage
Understanding Dryer Repair Costs
Dryers are essential appliances in most US homes, but when they stop heating, won't spin, or make strange noises, repair bills can add up quickly. The most common issues involve the heating element, drive belt, motor, and vent blockages. These problems account for a large share of service calls to appliance technicians across the country.
Knowing typical cost drivers helps US homeowners and renters decide between DIY fixes, professional service, or replacing the unit. Costs vary widely by location (higher in urban areas like New York or San Francisco), dryer age and model (older electric vs. newer gas), access difficulty (stacked units or tight laundry spaces), and urgency (weekend vs. weekday calls). Labor rates alone can range from $75 to $150 per hour in many regions, with diagnostics often $75 to $125 upfront.
Before spending, diagnose the issue yourself safely, gather multiple written estimates, and check if your homeowners insurance, home warranty, or rental lease covers it. This guide breaks down each repair, including symptoms, steps, and ways to control costs.
Symptoms Pointing to Specific Dryer Issues
Spotting the right problem saves money on unnecessary service trips. Here's how to narrow it down without tools:
- No heat but drum spins: Often the heating element, thermostat, or thermal fuse in electric dryers. Gas models might involve igniter or gas valve issues.
- Drum won't turn or makes squealing noises: Likely a broken drive belt or worn idler pulley.
- Won't start, hums but no spin, or trips breaker: Motor failure or capacitor problems.
- Long drying times, overheating clothes, or burning smell: Lint buildup blocking the vent, posing a fire risk.
Take photos of error codes (if digital display), unusual smells, or damage. Note your dryer's model number (inside door or back panel) for parts lookup. Unplug the unit first—dryers involve 240-volt electrics or gas lines, so safety comes first.
Heating Element Repair Costs
The heating element is a coiled metal wire that generates heat in electric dryers. It burns out from age, overuse, or power surges, typically after 8 to 12 years.
Common Symptoms and Causes
Clothes come out damp despite full cycles, or the dryer blows cool air. Causes include a faulty thermal fuse (safety cutoff) or thermostat alongside the element.
Repair Process Overview
A technician tests continuity with a multimeter, then accesses the element (back or bottom panel). Replacement involves disconnecting wires, removing screws, and installing a new one. Time: 1 to 2 hours.
Cost Factors
Parts cost $50 to $200, depending on brand (Whirlpool vs. high-end LG). Labor adds $100 to $300, higher for stacked or gas dryers needing line shutoff. Diagnostic fees apply if not waived with repair. Total estimates often land between $200 and $500, but expect more in coastal cities or for vintage models needing custom parts.
Urgency matters—if no heat strands laundry, same-day service bumps costs 20-50%. Poor access (basement installs) adds $50 to $100 trip charges.
DIY Feasibility
Basic electric models allow DIY if you're comfortable with 240V electrics. Buy OEM parts from sites like RepairClinic or PartSelect using your model number. Steps: 1. Unplug and clean lint. 2. Remove back panel (8-10 screws). 3. Test element with multimeter (infinite resistance means bad). 4. Swap and reassemble.
Never DIY gas dryers—risk of leaks or explosions. Skip if no electrical experience; shocks injure thousands yearly per CPSC data. Tools needed: screwdriver, multimeter ($20).
When to Call a Pro
Hire licensed techs for warranty claims, multi-part failures (element + fuse), or if the dryer is 10+ years old—repairs may exceed half a new unit's $500 to $1,000 price.
Drive Belt Replacement Costs
The drive belt loops around the drum and motor pulley, turning the drum. Rubber belts stretch or snap after 5 to 10 years of heavy use.
Symptoms and Diagnosis
Drum doesn't spin (motor hums), thumping noises, or visible belt shreds through the door lint screen. Test by spinning drum manually—it should rotate freely.
What the Repair Involves
Belt access requires tilting or removing the top/front panel. Techs realign idler pulley, lube rollers, and install new belt. Job takes 45 minutes to 1.5 hours.
Pricing Breakdown
Belts run $20 to $60 (universal vs. model-specific). Labor: $100 to $250. Full job: $150 to $350 typically. Add $50+ if rollers or pulley also worn—common upsell.
Front-loaders or tight-space installs increase labor. Off-peak scheduling (weekdays) can save 10-20%.
DIY Option
Highly feasible for handy homeowners. Videos on YouTube (search model + "belt replacement") guide most units. 1. Unplug dryer. 2. Remove top screws/clips for access. 3. Loop new belt over drum, use rope trick for tension. 4. Reassemble and test.
Parts ship fast; total under $100. Caution: Top-heavy units can tip—secure first.
Pro Recommendation
Opt for service if belt breakage reveals motor strain or if you're a renter (lease may require it).
Dryer Motor Repair or Replacement Costs
The motor powers drum rotation and blower fan. Capacitors or brushes fail first, but full burnout hits after 10-15 years.
Key Signs
Dryer won't start, buzzes/hums without spinning, or intermittent power. Breakers trip on startup.
Repair Steps
Techs test motor windings, replace start capacitor ($20-50), or swap motor (back panel removal). Complex due to blower wheel pull-off. 1.5 to 3 hours.
Cost Drivers
Motors: $100 to $300 (single-speed vs. variable). Labor highest here: $200 to $400+. Totals $350 to $800. Rebuilt motors cut parts 20-30%, but check warranty.
Age factors in—pre-2000 motors pricier to source. Emergency calls double labor.
| Repair Component | Typical Parts Cost Range | Labor Time Estimate | Common Add-Ons |
|---|---|---|---|
| Heating Element | $50-$200 | 1-2 hours | Thermal fuse ($10-30) |
| Drive Belt | $20-$60 | 45 min-1.5 hours | Idler pulley ($15-40) |
| Motor | $100-$300 | 1.5-3 hours | Capacitor ($20-50), blower wheel |
| Vent Blockage | $0-$100 (tools/rod) | 30 min-1 hour | Vent kit ($20-50) |
Note: Ranges vary by region, model, and contractor. Get local quotes.
DIY Challenges
Possible for capacitor swaps (easy access, discharge first). Motors require pulley tools and alignment skills—not for beginners. Risk voiding warranties or damaging wiring.
Better to Hire?
Yes for most—motors signal end-of-life. If repair tops $400, compare new dryer prices.
Vent Blockage Clearing Costs
Lint vents clog yearly, causing 15,000+ US fires per NFPA stats. Blockages extend dry times, overheat elements.
Detection
Clothes hot but damp, "check vent" light, or exterior flap stuck. Feel for airflow at outside vent.
Cleaning Process
Interior lint screen, blower housing, and full duct run (10-25 feet). Pros use augers/rods. 30 minutes to 2 hours for severe cases.
Expense Factors
DIY free-ish; pro $100 to $250 (basic clear) to $400+ (full duct replacement). Annual service $80-150 prevents repeats.
Rod kits $20-50 at Home Depot. Multi-story homes or flexible foil ducts (fire hazard) up costs.
DIY Strongly Encouraged
Safest, cheapest fix: 1. Unplug, vacuum lint screen/trap. 2. Disconnect vent hose, snake with brush kit. 3. Check exterior flap. 4. Reinstall rigid metal duct if needed.
Do monthly. Pro if mold, pests, or collapsed ducts suspected.
General Factors Influencing All Dryer Repair Costs
Beyond parts/labor:
- Location: Rural areas cheaper labor; cities add travel.
- Dryer Type: Gas $50-100 extra (line purge). Electric simpler.
- Home Setup: Ground-floor easy; upper units or condos harder.
- Time of Year: Winter peaks raise rates 25%.
- Contractor Credentials: Licensed, insured techs (check state board) cost more but safer.
Permits rare unless duct rewiring. Home warranties (e.g., American Home Shield) cap at $1,500/claim, minus service fee.
DIY vs. Professional Service: When to Choose Each
| Issue | DIY Safety Level | Tools/Skills Needed | Pro Recommended If... |
|---|---|---|---|
| Heating Element | Medium (electric only) | Multimeter, screwdriver | Gas model, no experience |
| Drive Belt | High | Basic hand tools | Multi-part wear |
| Motor | Low | Specialty pullers | Always for full replacement |
| Vent Blockage | High | Vacuum, brush kit | Full system dirty/moldy |
DIY saves 50-70% but voids warranties if botched. Pros offer 90-day labor guarantees.
Getting Reliable Repair Estimates
Call 3 licensed locals via Angi or AppliancePartsPros referrals. Provide model, symptoms, photos.
Questions to Ask:
- Is diagnostic fee credited to repair?
- Parts OEM or aftermarket? Warranty length?
- Total with labor, trip, disposal?
- Who performs work (tech or sub)?
- Payment terms—no full upfront over $200.
Insist on written estimates detailing line items. Reject verbal or lump-sum quotes.
Compare: $450 heating element? Normal if urban. Flag $800—get second opinion.
For renters: Notify landlord/property manager first (lease covers appliances). Document with texts/photos; they handle unless minor.
HOA/condo: Vents may be shared—check rules.
Insurance, Warranties, and Replacement Decisions
Homeowners insurance rarely covers wear (element/belt), but sudden failures (motor short) might if not neglected. File claims cautiously—premium hikes possible.
Manufacturer warranties (1-year parts) need serial proof. Home warranties cover caps after $75-125 fee.
Replace if: 12+ years old, multiple failures, or annual repairs exceed $300. New Energy Star dryers $600+, qualify for rebates.
Maintenance to Avoid Future Repairs
Prevent 80% issues:
- Clean lint screen every load.
- Vacuum vents quarterly.
- Annual pro duct clean ($100).
- Level dryer, don't overload.
- Use rigid vents, short runs.
Track service dates/receipts for warranty/insurance.
Spotting and Avoiding Repair Scams
Shady techs push unneeded parts (e.g., "new board" for belt). Per FTC:
- Demand upfront payment? Walk.
- No license proof? Verify at state board (e.g., CSLB in CA).
- High-pressure "today only" deals? No.
FTC resources: How to Avoid Home Improvement Scams and Home Repair Scams.
Repair Checklist Before Calling Anyone
- Confirm power/gas on, door switch works.
- Clean accessible lint/vents.
- Run diagnostic mode (model-specific).
- Test outlet with another appliance.
- Photograph everything.
- List symptoms chronologically.
This prep cuts diagnostic time, lowering bills. For US homes, addressing these promptly keeps laundry flowing without overspending.

About the TDL Expert Panel
TDL Expert Panel · TheDigitalLife Editorial Team
TDL Expert Panel is the editorial team behind TheDigitalLife. The team researches, reviews, and creates practical guides to help everyday readers make better decisions about home repair costs, refunds, AI tools, digital safety, productivity, and useful online resources. Each guide is written to be clear, useful, and easy to understand.