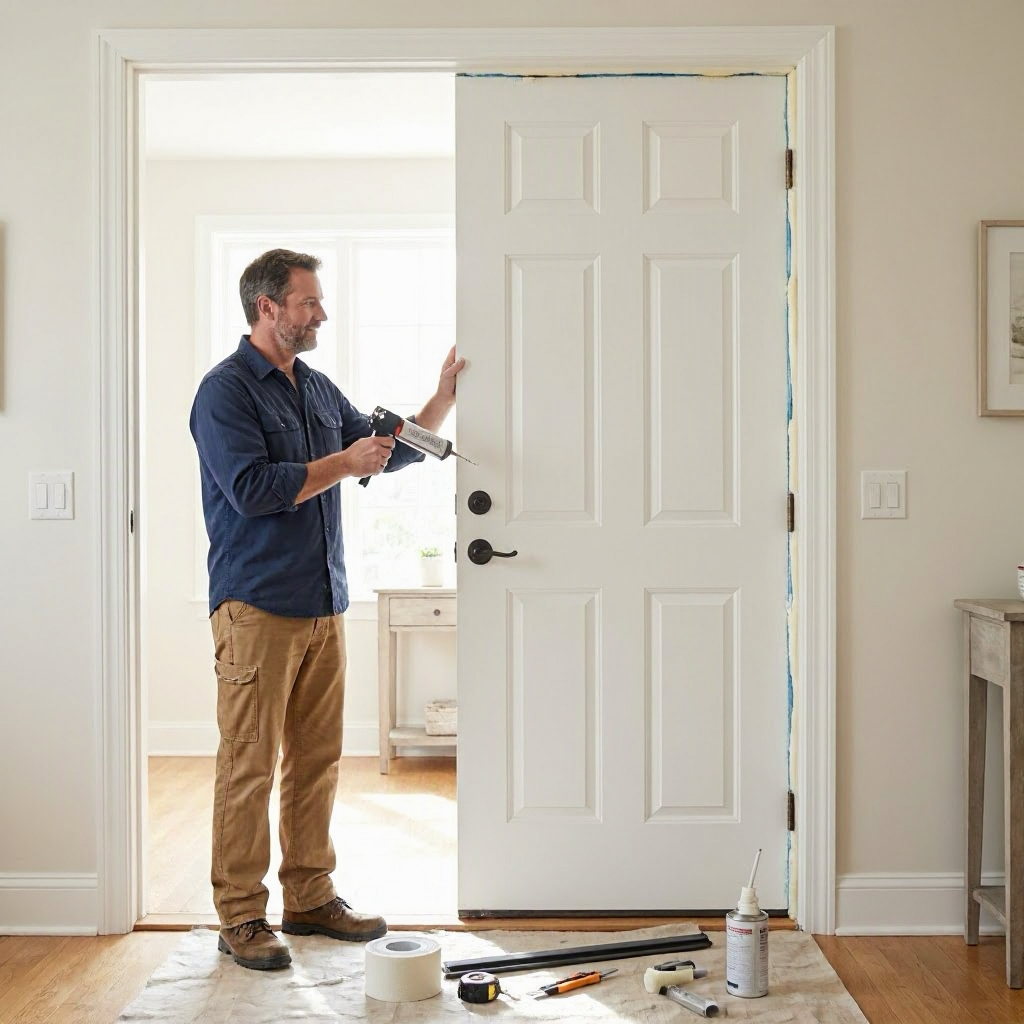
Air sealing cost: when caulk, foam, and weatherstripping pay off
Understanding Air Sealing and Its Value for Your Home
Air sealing targets the small gaps and cracks in your home that let conditioned air escape. In the United States, these leaks can account for 25 to 40 percent of a home's heating and cooling loss, according to the U.S. Department of Energy. By using caulk, spray foam, or weatherstripping, you create a tighter building envelope, which lowers energy bills and improves comfort.
Homeowners often notice drafts around windows and doors first, but leaks also hide in attics, basements, and electrical outlets. Sealing them pays off through reduced utility costs, especially in regions with extreme weather like the Midwest winters or Southern summers. Renters can benefit too, but check your lease before starting work, as some improvements might need landlord approval.
The initial air sealing cost varies widely based on your home's size, age, and leak severity. A basic DIY job might run under $100 in materials, while a full professional audit and seal-up could reach several thousand dollars. The real payoff comes from long-term savings, often recouping costs in 2 to 5 years through lower heating and cooling bills.
Spotting Air Leaks: Where Caulk, Foam, and Weatherstripping Make the Biggest Difference
Before spending on air sealing, identify leaks. On a windy day, hold your hand near windows, doors, outlets, and vents to feel drafts. Or use incense smoke, which drifts toward leaks. Common spots in US homes include:
- Windows and doors: Gaps around frames let in cold air.
- Attic access: Unsealed hatches or recessed lights.
- Basements and crawlspaces: Rim joists and sill plates.
- Plumbing and electrical penetrations: Pipes and wires through walls.
Older homes, like those built before 1980, often have more leaks due to settling foundations or outdated construction. Newer energy-efficient homes might still need sealing around additions or renovations.
Focus efforts where leaks waste the most energy. For example, sealing around a chimney flue prevents heated air loss, while weatherstripping doors stops ground-level drafts. Prioritizing high-impact areas ensures your investment pays off faster.
Air Sealing Materials: Breaking Down Caulk, Foam, and Weatherstripping
Each material suits specific gaps. Caulk fills stationary cracks, foam expands into larger voids, and weatherstripping handles moving parts like doors.
Caulking for Permanent Seals
Caulk works best for fixed joints, like where walls meet windowsills or bathtubs meet tiles. Silicone or acrylic latex caulk stays flexible and paintable, ideal for indoor use. Exterior gaps need polyurethane or silicone for weather resistance.
Material costs depend on tube size and brand, but a few tubes cover most homes. Apply with a caulk gun for clean lines, smoothing with a wet finger. It's a low-skill DIY task, but improper application wastes product.
Spray Foam for Irregular Gaps
Expanding spray foam seals around pipes, vents, and wiring holes. Low-expansion foam avoids warping frames; great-expansion types fill cavities like attic knee walls. Use fire-rated foam near chimneys.
Foam requires good ventilation due to fumes, and it expands quickly, so practice on scrap first. Pros use professional-grade cans or rigs for even bigger jobs, which affects pricing through labor time.
Weatherstripping for Doors and Windows
This flexible material, like foam tape, V-strips, or door sweeps, seals moving parts. Peel-and-stick foam suits operable windows; vinyl sweeps block under-door gaps. Choose durable options for high-traffic exterior doors.
Replacement is simple seasonally, extending life and savings. Combine with caulk for comprehensive coverage.
| Material | Best For | DIY Skill Level | Key Cost Driver |
|---|---|---|---|
| Caulk | Fixed cracks (e.g., window frames) | Beginner | Tube quantity, quality (silicone higher) |
| Spray Foam | Voids around pipes, outlets | Beginner to intermediate | Can size, expansion type (low vs. great) |
| Weatherstripping | Doors, movable windows | Beginner | Length needed, durability (rubber vs. foam) |
This table highlights choices without exact prices, as they fluctuate by store and region.
What Drives Air Sealing Costs in the US
No single average cost fits all homes, as prices hinge on variables like location, home size, and scope. Labor in high-cost areas like California runs higher than in the Midwest. A 2,000-square-foot home might need more material than a condo.
Key factors include:
- Extent of sealing: Spot fixes cost less than whole-house audits. Blower door tests, which measure leaks, add $300 to $600 but pinpoint issues.
- Home access: Tight attics or finished basements raise labor hours.
- Materials chosen: Premium, low-VOC products cost more but last longer.
- Professional vs. DIY: Pros charge for time, travel, and expertise.
- Add-ons: Insulation pairing or ventilation checks increase totals.
Urgency matters little here, unlike plumbing emergencies. Schedule in off-seasons for better rates. Get 3 written estimates to compare, noting included items like cleanup or warranties.
DIY Air Sealing: Affordable Entry Point with Real Savings
Many air sealing tasks suit DIY, saving 50 to 80 percent over pro costs by skipping labor. Start small: weatherstrip doors ($20 to $50) or caulk windows ($10 to $30). Tools needed: caulk gun ($10), utility knife, drop cloths.
Safe DIY steps: 1. Clean surfaces dust-free and dry. 2. Tape edges for neat lines. 3. Cut caulk tip at 45 degrees; apply steady bead. 4. Tool smooth; let cure 24 hours.
Avoid DIY near electrical panels, gas lines, or chimneys, where improper seals risk fire or carbon monoxide issues. Test for moisture in basements first, as sealing traps it.
Renters: Minor interior work like outlet gaskets is fine, but exterior changes need landlord OK. Track receipts for potential reimbursements.
DIY material costs stay low, but time investment matters. A weekend project yields quick bill reductions, often $50 to $200 yearly on utilities.
When to Hire a Pro for Air Sealing
Complex jobs like attic sealing or blower door-guided work demand pros. They spot hidden leaks, ensure code compliance, and integrate with insulation. Licensed energy auditors or general contractors handle this.
Expect higher costs for expertise: diagnostics, premium materials, multi-day work. Ask:
- Is a blower door test included?
- What materials and why?
- Labor and warranty details?
- Payment terms (no full upfront)?
Verify licensing via your state contractor board. Compare bids line-by-line: some bundle disposal, others charge extra. Pros often qualify for incentives, passing savings.
For condos or HOAs, confirm rules on shared walls or exteriors. Mobile homes benefit from sealing too, but skirt gaps need specialized approaches.
| Cost Scenario | Typical Scope | Pro Recommendation |
|---|---|---|
| Minor (DIY-friendly) | Doors, windows | Optional |
| Moderate | Outlets, pipes | If access tricky |
| Extensive | Attic, whole-house | Strongly advised |
Energy Savings: When Air Sealing Truly Pays Off
The payoff shines in utility reductions. Tightening leaks cuts heating needs by 10 to 20 percent, per DOE estimates. In a $2,000 annual bill home, that's $200 to $400 saved yearly.
Payback periods shorten with incentives. The IRS Energy Efficient Home Improvement Credit offers up to 30 percent back on qualified costs, up to $1,200 annually (details at irs.gov/credits-deductions/energy-efficient-home-improvement-credit). DOE's Home Upgrades page lists rebates via energy.gov/save/home-upgrades.
Track savings: Note pre-seal bills, then compare. Combine with programmable thermostats for more gains. In cold climates, savings hit faster; milder areas see comfort boosts.
Maximizing Your Air Sealing Investment
Lower bills by prioritizing: Seal top leak sources first, per DOE priorities (attic, then walls). Maintain seals yearly, re-caulking exteriors.
Prevent issues: Insulate after sealing to avoid condensation. Document work with photos and receipts for insurance or resale value.
Homeowners: Check warranties on foams (often 20+ years). Renters: Share energy audit results with landlords for upgrades.
Questions for estimates:
- Breakdown of materials and labor?
- Expected savings estimate?
- Follow-up inspection included?
Avoid upsells like unneeded insulation without testing. Serious signs, like persistent moisture post-seal, signal deeper issues like foundation cracks, warranting structural pros.
Regional Considerations for US Homeowners
Costs vary: Urban areas charge more for labor; rural spots have material shipping hikes. Check ENERGY STAR-rated products for rebates.
In humid South, prioritize vapor barriers with foam. Dry West focuses on dust infiltration. Always ventilate post-seal to prevent indoor air staleness.
Long-Term Maintenance to Sustain Savings
Inspect seals biannually: Squeeze weatherstripping for compression, probe caulk for cracks. Replace as needed to keep efficiency high.
Pair with duct sealing if tests show issues there. This holistic approach extends ROI beyond initial air sealing cost.
By focusing on high-payoff spots with caulk, foam, and weatherstripping, US homeowners turn modest investments into lasting comfort and savings. Get local quotes tailored to your home for the best results.

About the TDL Expert Panel
TDL Expert Panel · TheDigitalLife Editorial Team
TDL Expert Panel is the editorial team behind TheDigitalLife. The team researches, reviews, and creates practical guides to help everyday readers make better decisions about home repair costs, refunds, AI tools, digital safety, productivity, and useful online resources. Each guide is written to be clear, useful, and easy to understand.