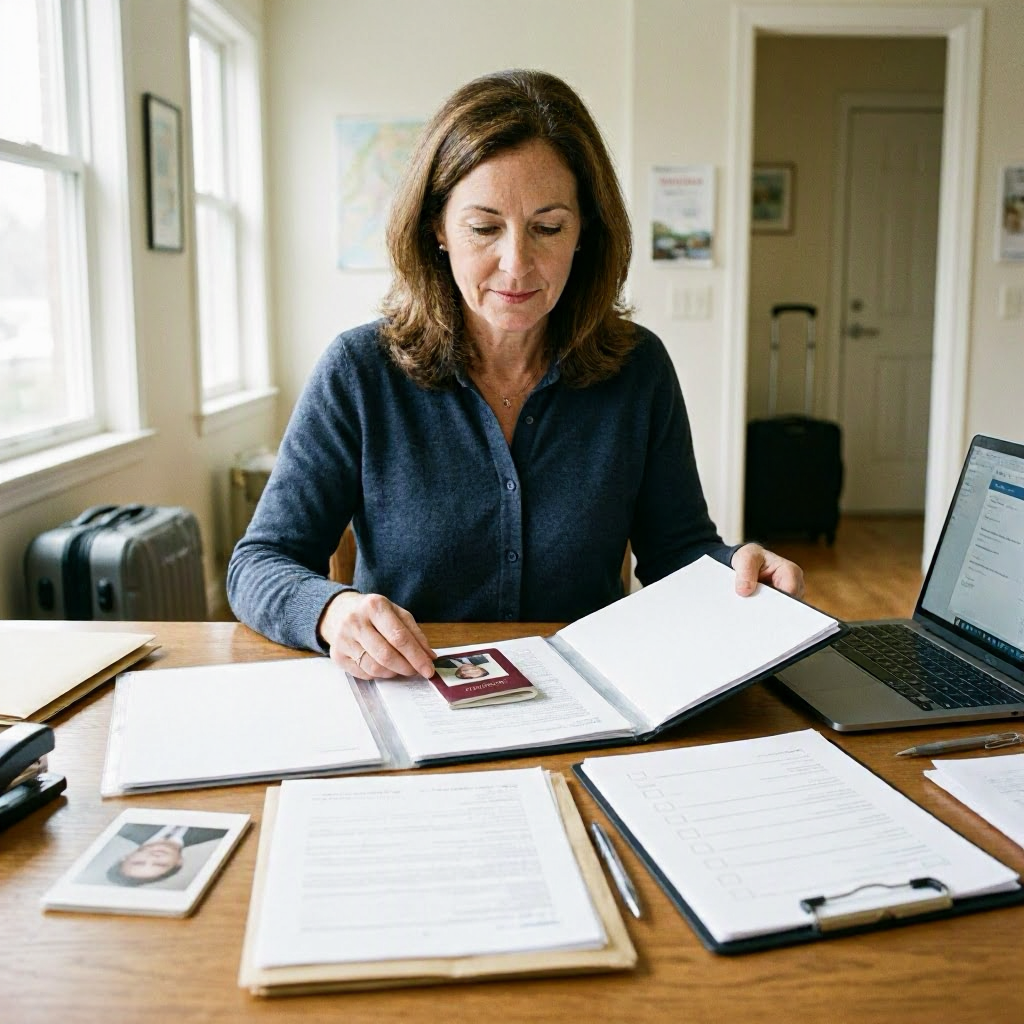
Tourist Visa B1/B2 documents checklist for 2026
Understanding the B1/B2 Tourist Visa
The B1/B2 visa allows temporary visits to the United States for business (B1), tourism, pleasure, or medical treatment (B2). It combines both categories into one visa stamp for convenience. This nonimmigrant visa is for people outside the US who need to enter for short stays, typically up to six months, though the exact time is set by Customs and Border Protection (CBP) officers at the port of entry.
Eligibility depends on your specific facts and immigration history. You must show strong ties to your home country, such as a job, family, or property, and prove you intend to return after your visit. Immigration rules can change, so always check Travel.State.gov for current official instructions. This article provides a general documents checklist for 2026 applications, but it is not legal advice.
Many US citizens or residents help family members or friends abroad apply for B1/B2 visas. If you are assisting someone, review this checklist together and encourage them to verify details on official US government websites.
Who Qualifies for a B1/B2 Visa?
Not everyone needs a B1/B2 visa. Citizens of Visa Waiver Program (VWP) countries can use ESTA for short visits, but others must apply for B1/B2. Common applicants include tourists visiting family, attending events, or seeking medical care.
To qualify generally, applicants must:
- Plan a temporary visit with a clear purpose.
- Have enough funds to cover the trip without working in the US.
- Demonstrate nonimmigrant intent through home country ties.
Prior US overstays, immigration violations, or criminal history can affect eligibility. Check your I-94 record or prior visas if applicable. A qualified immigration attorney or accredited representative can review personal situations before applying.
Overview of the B1/B2 Visa Application Process
B1/B2 applications happen at US embassies or consulates abroad, handled by the Department of State. USCIS is not directly involved unless related to other status changes.
Key steps include: 1. Complete the online DS-160 form. 2. Pay the visa fee (Machine Readable Visa fee, or MRV). 3. Schedule and attend a consular interview. 4. Submit documents and biometrics if required. 5. Wait for processing, which may include administrative processing.
Processing times vary by consulate and case complexity. Track status on the official CEAC website via Travel.State.gov. Rules for 2026 may update, so confirm steps on the US embassy or consulate website for the applicant's location.
Essential Documents Checklist for B1/B2 Visa in 2026
Gather all documents before starting the DS-160. Originals and copies are often needed. Organize them in a folder with tabs for passport, financials, ties, and itinerary. Translations must be certified if not in English.
Use this checklist to prepare. Each item explains why it matters and what to include.
Passport and Photos
- Valid passport: Must be valid for at least six months beyond your planned US stay. Check CBP.gov for exceptions. Bring the original and a copy of the bio page.
- Recent passport-sized photo: Follow exact State Department specs (2x2 inches, white background, no glasses). Upload digitally for DS-160 and bring a physical copy.
DS-160 Confirmation
- Printed confirmation page from the DS-160 online application, with barcode. Complete this first on ceac.state.gov.
Proof of Visa Fee Payment
- Receipt for the MRV fee. Pay only through official channels listed on the consulate website. Keep digital and printed copies.
Documents Showing Ties to Home Country
These prove you will return home, the most critical evidence. - Employment letter: On company letterhead, stating job title, salary, start date, and approved leave. Include pay stubs for three months. - Business ownership proof: Registration, tax returns, or partner letters if self-employed. - Property deeds or leases: Home ownership or rental agreements in your name. - Family ties: Birth, marriage certificates for spouse/children, showing they stay behind. - School enrollment: Letters from universities or schools if a student.
Tip: Gather six months of evidence to show stability.
Financial Documents
Prove you can pay for the trip without US employment. - Bank statements: Last three to six months, showing balances and transactions. Include statements from joint accounts if applicable. - Tax returns: Recent income tax filings or assessments. - Sponsor letters: If someone else funds the trip, their financial docs, relationship proof, and invitation letter. - Property valuations or investment statements.
Travel Itinerary and Purpose
- Round-trip flight reservations (not tickets yet).
- Hotel bookings or invitation letter from US host, with their address, relationship, and copy of their ID/green card/passport.
- Event invitations: Conference agendas, wedding invites, or medical appointment letters.
- For medical treatment: Doctor's letter detailing condition, treatment, costs, and US doctor's info.
Additional Supporting Documents
| Document Type | Why It Matters | Examples to Prepare |
|---|---|---|
| Prior US visas or I-94s | Shows compliance history | Copies of old visas, entry/exit stamps, I-94 from CBP.gov |
| Military records | If applicable, proves service ties | Discharge papers or current service letter |
| Social ties | Demonstrates community roots | Club memberships, volunteer letters |
| Travel history | Shows pattern of returns | Old passports with stamps |
Keep all financial docs recent, within three months of application.
Preparing Your Documents for Submission
Start early. Scan everything for digital upload if required. Get English translations for non-English docs, with a certification from the translator stating accuracy.
Organize copies:
- Photocopy both sides of every document.
- Label folders: "Identity", "Finances", "Ties", "Itinerary".
- Use a secure USB or cloud folder password-protected.
Common preparation mistakes include faded photos or expired passports. Renew passport if expiring soon. Check consulate-specific lists on their website, as some require extra items like police certificates.
For group applications (family), each person needs individual DS-160s but can share supporting docs like finances.
Visa Interview Preparation
Most applicants over 14 and under 80 attend an in-person interview. Schedule via the official portal after DS-160 and fee payment.
What to bring:
- DS-160 confirmation.
- Passport and photo.
- Fee receipt.
- All checklist documents in a clear folder.
Practice answers:
- Purpose of trip?
- How long staying?
- Where funding from?
- Plans after return?
Dress professionally. Arrive early. Answer truthfully; misrepresentation can lead to permanent bans.
Children under 14 or seniors may qualify for interview waivers (Dropbox), but check eligibility on the consulate site.
Checking B1/B2 Visa Status
After interview:
- Immediate decision: Visa in passport or refusal letter.
- Administrative processing: Extra time for checks; track online.
Use CEAC at Travel.State.gov: 1. Enter DS-160 barcode or case number. 2. Check status: Issued, Refused, Administrative Processing.
Processing times vary; some wait weeks, others months. No expedites for tourist visas generally. Keep checking email and portal.
If approved, pick up passport or use courier. Verify visa details match passport before travel.
Common Mistakes to Avoid with B1/B2 Applications
- Submitting weak ties evidence: Always show reasons to return.
- Fake documents: Leads to fraud findings and bans.
- Paying unofficial "agents": Use only accredited help.
- Ignoring consulate wait times: Book early for 2026 travel.
- Traveling without valid visa: Check passport validity.
Overstaying prior visits hurts future applications. Review CBP I-94 for past entries.
Beware of B1/B2 Visa Scams
Scammers target applicants with:
- Fake approval guarantees.
- Bogus websites mimicking Travel.State.gov.
- Requests for fees via wire or gift cards.
Safer steps:
- Use only official embassy sites.
- Ignore unsolicited calls claiming issues.
- Verify helpers via DOJ accredited list.
| Scam Sign | Safer Action |
|---|---|
| "Guaranteed visa for a fee" | Check Travel.State.gov yourself |
| Blank forms to sign | Review every page before signing |
| Urgent threats | Official notices come by mail/portal |
Report scams to the embassy or FTC.gov.
When to Contact Qualified Immigration Help
This checklist is general information, not legal advice. Contact a qualified immigration attorney or accredited representative if:
- Prior US overstays or violations.
- Criminal record.
- Complex family or business ties.
- Recent refusal needing reapplication.
Find help via AILA.org for attorneys or DOJ.gov for accredited reps. Free/low-cost aid at recognized nonprofits.
Eligibility depends on personal facts. Do not rely on this article as a substitute for qualified help.
Recordkeeping After Applying
Keep everything organized post-application:
- Copies of DS-160, receipts, interview notes.
- Visa stamp photo/scan.
- Travel itineraries, boarding passes.
- Entry I-94 from CBP.gov.
Store in a fireproof safe or encrypted digital folder. Protect sensitive info like passport numbers. Needed for future visas, green cards, or status checks.
Travel Tips with a New B1/B2 Visa
Once issued:
- Valid for 10 years often, but each entry up to six months.
- Carry supporting docs at border.
- Check ESTA if eligible next time.
Consult a professional before travel if pending other cases. Review cbp.gov/i94 for admission records.
Updates for 2026 Applications
Expect possible changes in fees, forms, or requirements. Visit Travel.State.gov/content/travel/en/us-visas.html and your consulate site monthly. Digital processes may expand.
For US-based helpers: Share this checklist but remind applicants to use official sources.
This guide covers key steps and documents, helping you prepare confidently. Always verify on USCIS.gov or Travel.State.gov for the latest. Safe travels.
(Word count: 3124)

About the TDL Expert Panel
TDL Expert Panel · TheDigitalLife Editorial Team
TDL Expert Panel is the editorial team behind TheDigitalLife. The team researches, reviews, and creates practical guides to help everyday readers make better decisions about home repair costs, refunds, AI tools, digital safety, productivity, and useful online resources. Each guide is written to be clear, useful, and easy to understand.