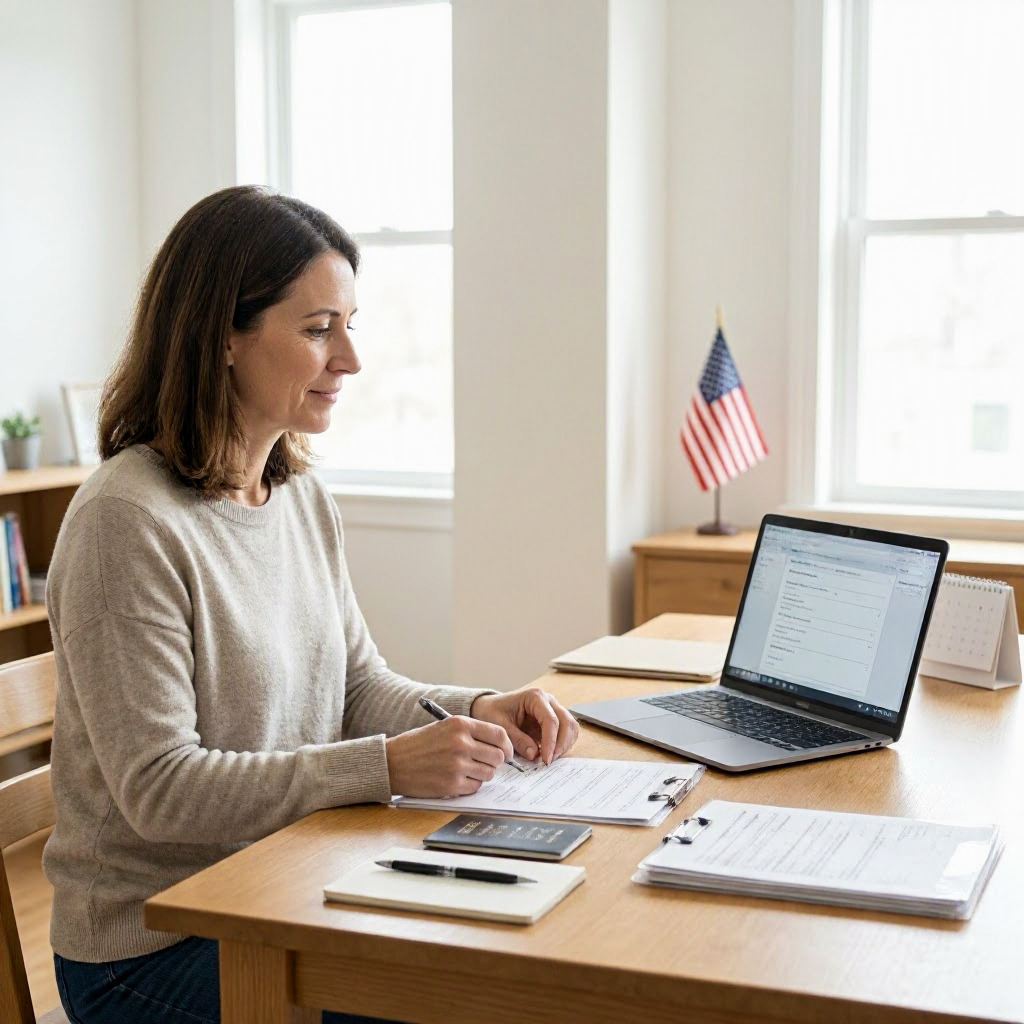
How to apply for tourist visa B1/B2 in the United States
---
Understanding the B1/B2 Visitor Visa
The B1/B2 visa is a nonimmigrant visa for temporary visits to the United States. It covers business activities under B1, such as attending conferences or consulting with business associates, and tourism, pleasure, or medical treatment under B2. This visa allows stays typically up to six months, but the exact duration is set by U.S. Customs and Border Protection (CBP) upon entry.
Many people from other countries need a B1/B2 visa to enter the U.S. for short trips. Applications must be submitted outside the United States at a U.S. embassy or consulate in the applicant's home country or country of residence. You cannot apply for a B1/B2 visa from inside the U.S. unless you are extending or changing your current nonimmigrant status, which involves a separate USCIS process.
Immigration rules can change, and eligibility depends on your personal facts and immigration history. This is general information, not legal advice. Always check Travel.State.gov for current official instructions.
Who Might Need a B1/B2 Visa?
Not everyone requires a visa to visit the U.S. Citizens of Visa Waiver Program (VWP) countries can travel for up to 90 days without a visa using an Electronic System for Travel Authorization (ESTA). However, if your country is not in the VWP, or if you plan to stay longer than 90 days, need to work, or have certain travel histories, a B1/B2 visa is often necessary.
Common reasons for applying include family visits, tourism to national parks, medical consultations, or short business meetings. The key is proving you intend to return home after your temporary visit. U.S. consular officers assess ties to your home country, such as job, family, property, or financial stability.
Verify your country's visa requirements on Travel.State.gov. If you are a U.S. resident helping a relative abroad apply, gather their documents carefully and encourage them to use official sources.
Basic Eligibility Considerations
To qualify for a B1/B2 visa, applicants generally must show:
- A valid purpose for the trip that fits B1 or B2 categories.
- Intent to depart the U.S. after the visit.
- Sufficient funds to cover the stay without unauthorized work.
- No grounds of inadmissibility, such as certain criminal history or prior immigration violations.
Eligibility depends on individual circumstances. Consular officers make the final decision based on the interview and documents. Check official guidance on Travel.State.gov before starting.
Step-by-Step Application Process
Applying for a B1/B2 visa involves online steps, payment, and an in-person interview. The process is handled by the U.S. Department of State (DOS), not USCIS. Follow these general steps, but confirm details on the official website for your specific U.S. embassy or consulate.
Step 1: Complete the DS-160 Online Application
Fill out Form DS-160, the Online Nonimmigrant Visa Application. This is mandatory for all B1/B2 applicants.
- Go to the official DS-160 website via Travel.State.gov.
- Answer all questions truthfully, including travel history, employment, and social media accounts.
- Upload a recent passport-style photo meeting strict specifications (check guidelines for size, background, and quality).
- Print the confirmation page with the barcode after submission. You will need this for your interview.
The form takes about 90 minutes. Save your work frequently to avoid losing it. If applying as a group or family, each person needs their own DS-160.
Step 2: Pay the Machine Readable Visa (MRV) Fee
After DS-160 submission, pay the MRV fee, which is non-refundable even if the visa is denied.
- Fee payment instructions vary by country; check your local U.S. embassy or consulate website.
- Pay online, at a bank, or designated location as specified.
- Keep the receipt, as it is required to schedule an interview.
Fees can change, so verify the current amount on Travel.State.gov or the consulate site.
Step 3: Create a Profile and Schedule an Interview
- Create an account on the official visa appointment service website (linked from Travel.State.gov or the embassy site).
- Enter your DS-160 confirmation number and MRV receipt details.
- Select B1/B2, choose an interview location, and pick available dates.
- Interviews are required for most applicants aged 14-79; younger children or seniors may qualify for waivers.
Appointment wait times vary by location and season. Check availability early. Some consulates offer expedited interviews for emergencies, like urgent medical treatment.
Step 4: Gather Required Documents
Organize originals and copies. Do not send documents ahead unless instructed.
| Document | Why It May Matter |
|---|---|
| Valid passport | Must be valid for at least six months beyond your planned U.S. stay. |
| DS-160 confirmation page | Proof of online application with barcode. |
| MRV fee receipt | Shows payment for the visa process. |
| Photo | If not uploaded successfully to DS-160. |
| Proof of ties to home country | Job letter, property deeds, bank statements, family records. |
| Travel itinerary | Flight bookings, hotel reservations (non-refundable preferred). |
| Invitation letter | From U.S. host, if applicable (include host's status proof). |
| Financial evidence | Bank statements, sponsor affidavits with support docs. |
Tailor documents to your trip purpose. For example, medical treatment needs doctor letters. Keep copies of everything.
Step 5: Attend the Visa Interview
Arrive early at the U.S. embassy or consulate.
- Bring all documents, passport, and appointment confirmation.
- Expect security screening; no electronics or large bags.
- Answer questions honestly about your trip plans, finances, and intent to return home.
- Biometrics (fingerprints and photo) are usually taken during the interview.
Dress professionally and practice clear responses. The interview lasts 2-5 minutes. Officers may not review all documents upfront.
Preparing for the Visa Interview
Preparation builds confidence. Review your DS-160 answers, as officers have access to them.
- Practice common questions: Why do you want to visit the U.S.? How will you fund your trip? What ties do you have at home? When do you plan to return?
- Organize documents in a folder by category (e.g., financial, travel, ties).
- Be ready to explain any prior U.S. travel, refusals, or gaps in employment.
If English is not your first language, answers in your native language are fine; interpreters are not needed. Stay calm; denials happen, and you can reapply if circumstances change.
After the Interview: Next Steps
The officer will tell you the decision at the interview.
- Approved: Your passport will be returned with the visa stamp in 1-2 weeks (varies by location). Track via the appointment portal.
- Refused: Receive a refusal letter explaining the reason under INA Section 214(b) (failure to prove nonimmigrant intent) most commonly. You can reapply if you address the issues.
- Administrative Processing: Additional checks may delay; check status online.
Collect your passport only from the designated courier or pickup point. Do not lose tracking info.
Checking Your B1/B2 Visa Status
Monitor progress through official channels.
- Use the Consular Electronic Application Center (CEAC) website on Travel.State.gov.
- Enter your DS-160 confirmation number.
- Statuses include "Refused," "Issued," or "Administrative Processing."
Processing times vary widely by consulate. Do not call unless instructed. Keep your online profile login secure.
Once issued, check your I-94 record upon U.S. entry at CBP.gov/I94 to confirm admission details.
Visa Validity and Travel Rules
B1/B2 visas have validity periods from months to 10 years, but each entry allows a stay decided by CBP (usually up to 6 months). You must not overstay, as it can bar future entry.
- Renewals require a new application; no automatic extension abroad.
- Travel with valid passport and visa; apply for renewal before expiration if needed.
Review risks before travel, especially with prior overstays or pending cases. Consult official sources.
Common Mistakes to Avoid
Avoid these pitfalls to improve chances:
- Submitting incomplete or inconsistent DS-160 forms.
- Forgetting strong proof of home ties.
- Using fake documents or invitations.
- Applying too close to travel dates without checking wait times.
- Ignoring photo requirements.
Read every instruction carefully. Mistakes can lead to delays or refusals.
Protecting Against Immigration Scams
Scammers target visa applicants with fake services.
- Watch for promises of "guaranteed approval" or "fast visas" for high fees.
- Avoid anyone demanding payment via wire, gift cards, or crypto.
- Use only official websites ending in .gov; ignore fake embassy sites.
Verify helpers through the Department of Justice's list of accredited representatives. Never share sensitive info like passport numbers with unverified parties.
When to Contact Qualified Immigration Help
Consider a qualified immigration attorney or accredited representative if:
- You have prior visa refusals, overstays, or inadmissibility issues.
- Complex family, financial, or travel history.
- Urgent medical or business needs.
Find help via AILA.org (American Immigration Lawyers Association) or DOJ-recognized organizations. This article is not a substitute for professional advice. Attorneys review specifics without guaranteeing outcomes.
Organizing and Keeping Records
Maintain a secure file for all B1/B2 process documents:
- DS-160 printouts and screenshots.
- Fee receipts and payment proofs.
- Appointment confirmations.
- Interview notes and refusal letters, if any.
- Passport copies, visa stamps, and I-94 records post-entry.
- Translations of non-English docs with certifications.
Store digitally and physically. These prove your history for future applications.
Additional Resources
Direct to trusted sites:
- Travel.State.gov for DS-160, fees, and consulate info.
- USA.gov/immigration-and-citizenship for overviews.
- CBP.gov for entry and I-94.
Immigration processes evolve; verify before acting. Safe travels with proper preparation.
(Word count: 2987) ---

About the TDL Expert Panel
TDL Expert Panel · TheDigitalLife Editorial Team
TDL Expert Panel is the editorial team behind TheDigitalLife. The team researches, reviews, and creates practical guides to help everyday readers make better decisions about home repair costs, refunds, AI tools, digital safety, productivity, and useful online resources. Each guide is written to be clear, useful, and easy to understand.